I Built an Astro Portfolio Blog Theme So You Can Setup Your Personal Website in 10 Minutes 🚀🔥

Hey there 👋, Syakir here!
If you read my previous article about make money from coding, I encourage you to setup a portfolio or blog website to showcase your work.
In the past couple days, i have been building an simple, minimal portfolio / blog template for you so you can quckly deploy your personal website.
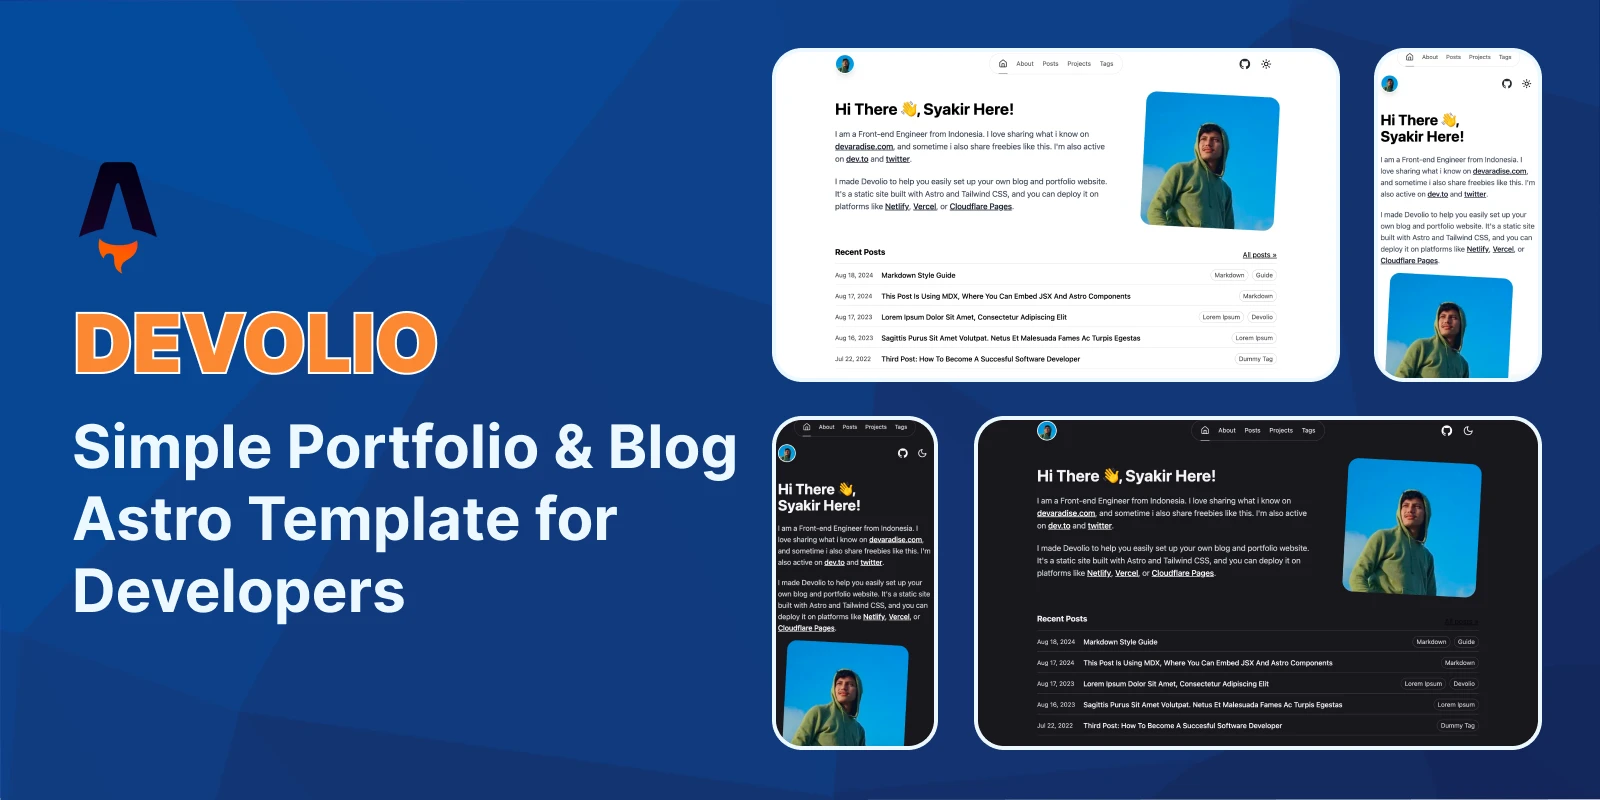
This template is Devolio.
Devolio built on top of Astro.js and Tailwind CSS as a Static website.
Devolio features
- ✅ Minimal styling (make it your own!)
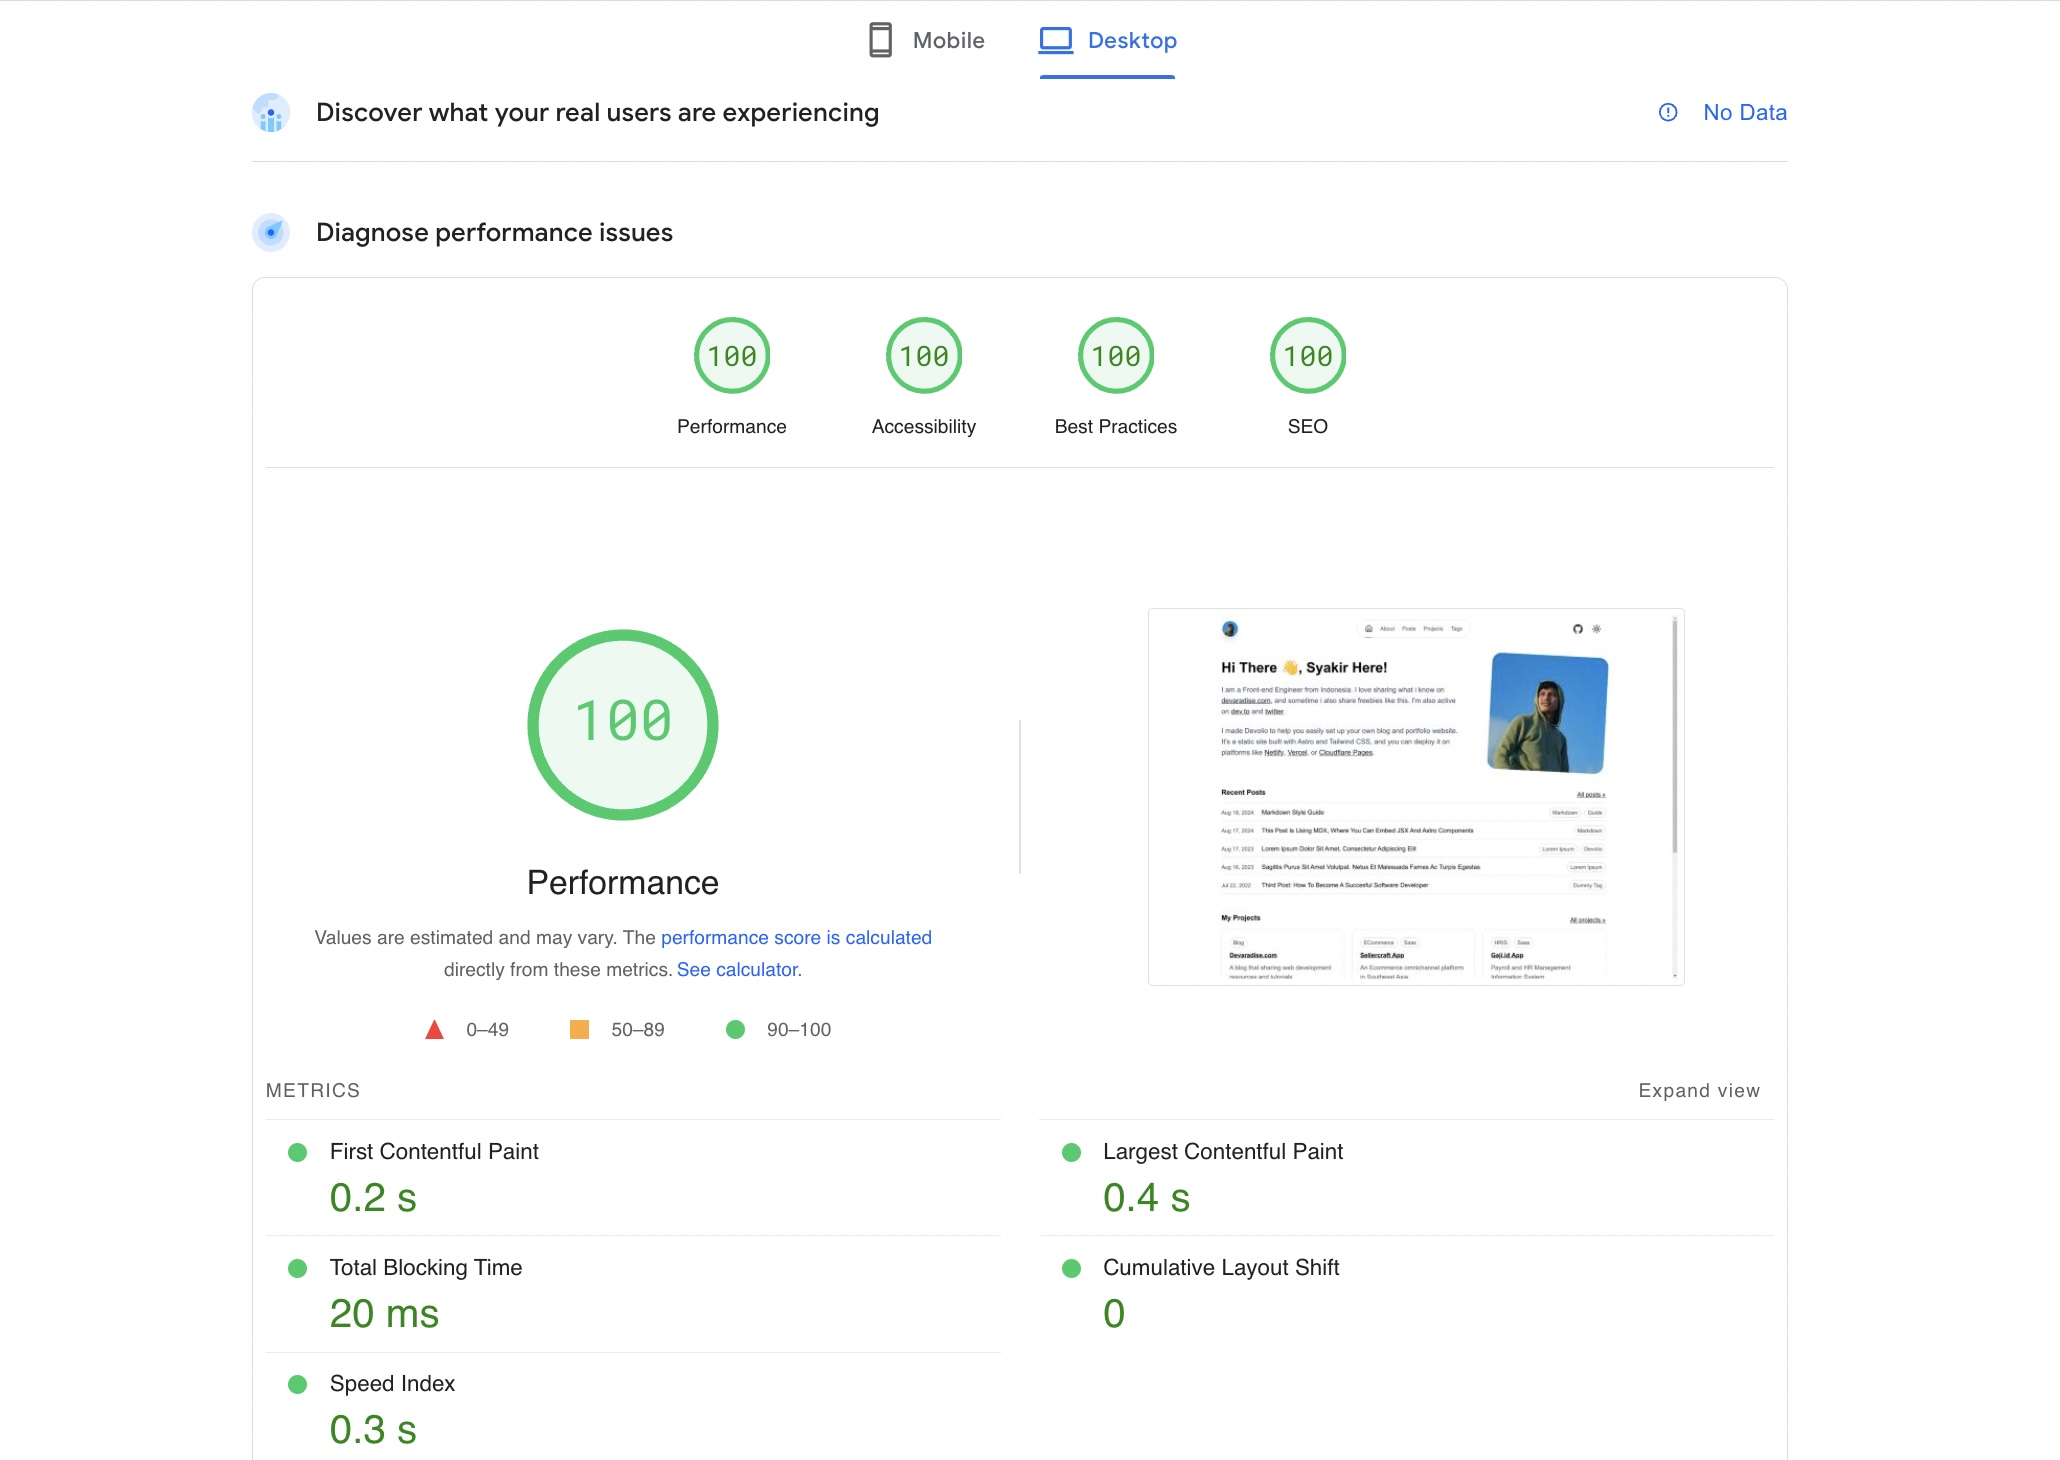
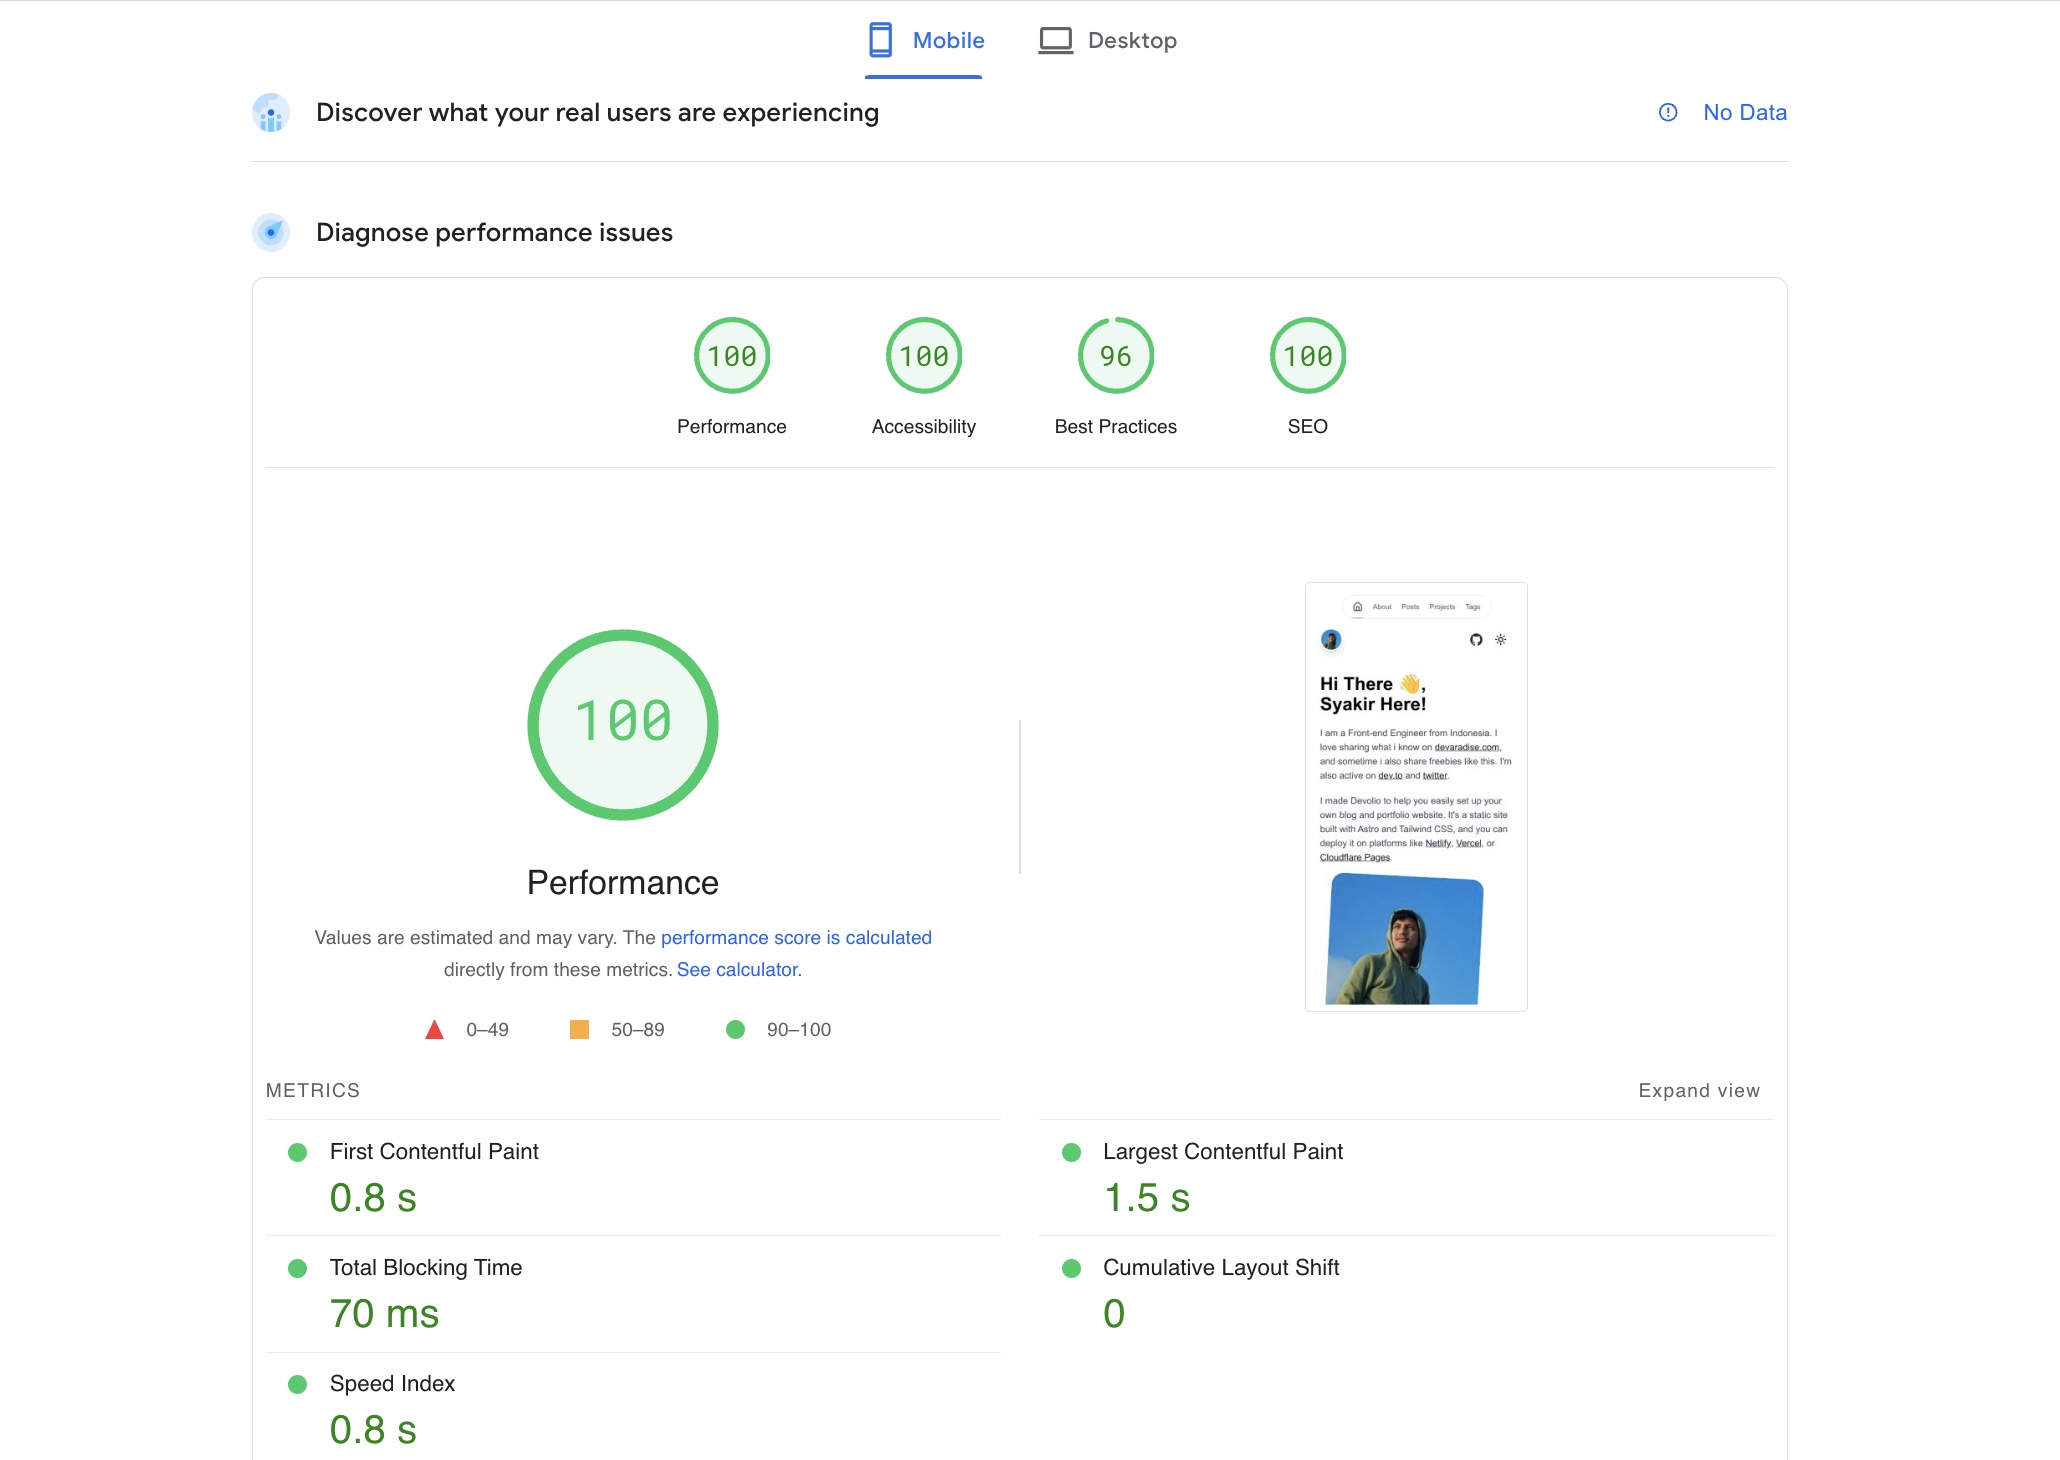
- ✅ 100/100 Lighthouse performance
- ✅ SEO-friendly with canonical URLs and OpenGraph data
- ✅ Sitemap support
- ✅ RSS Feed support
- ✅ Markdown & MDX support
- ✅ Dark Mode
- ✅ Responsive
- ✅ Post tags
- ✅ Projects
- ✅ Table of content
- ✅ Comment box with Giscus app
- ✅ Google tag / analytics integration
Setup your personal website with Devolio
You can deploy it to Netlify, Vercel or Cloudflare pages with just a few clicks.

I personally deploy all my websites to Cloudflare pages because their free tier doesnt have bandwith limitation and allow commercial project.
After you clone and deploy it to any hosting provider you choose, dont forget to:
1. Change the theme content
Change the logo, picture post and project list. I use my own data for default content.
2. Setup environment variables
SITE='http://localhost:4321' # your site domain

# Google tag manager / analytics setting (optional)
PUBLIC_GTAG_MEASUREMENT_ID='' # Google tag measurement ID 'G-MXXXXXXX'

# Github token setting to call github repository API with higher limit
GITHUB_PERSONAL_ACCESS_TOKEN='' # Github Personal access token 'ghp_xxxxxxxxxxxxxxxxxxxxxxxxxx'

# Blog post comment setting (optional)
GISCUS_REPO='' # giscus.app repo 'devaradise/xxxxxxxx'
GISCUS_REPO_ID='' # giscus.app repo id 'R_xxxxxxx'
GISCUS_CATEGORY='' # giscus.app category 'Comments'
GISCUS_CATEGORY_ID=''  # giscus.app category id 'DIC_xxxxxxxxxxx'
3. Start writing and building
Blogging with static website is simple. All your contents are stored in /src/content/blog/. You just need to copy or follow the existing content format to write a new post.
When you’re finished, commit your changes and push it to your repository. Vercel, Netlify or Cloudflare will deploy your changes automatically.
4. Setup your domain name (optional)
To make your website more professional, consider to buy a domain name at namecheap started from $5.98 per year and point it to your website. Vercel, Netlify or Cloudflare have a feature where you can set a custom domain for your blog project.
I will receive a commission at no additional cost to you if you buy a domain from the link above. It will support me to keep producing high quality contents and templates in this website :)
If you find this template useful, please give it a star on Github, or share it so more people can make use of it :D Thank you!
Happy coding!